SolarEdge Inverter or Optimizer Problems? Tampa Guide
If your SolarEdge app shows a problem with your system, it usually means something is going on either at the inverter on the wall or at one of the small devices called optimizers under the panels, and the goal is to figure out which one it is and fix it the right way. A SolarEdge system has an inverter that converts power for your home and a small optimizer under each panel that manages that panel’s output and reports how it is doing. When something looks off in the app, it is almost always tied back to one of those locations. Fused Solar and Roofing is a licensed roofing (CCC1331058), electrical (EC13014750), and building contractor (CBC1252064) — all three in-house.
If you are seeing one panel low, a group of panels low, the whole system at zero, or a “not communicating” message, you do not have to guess your way through it. Most SolarEdge issues can be located and corrected in a straightforward way. This guide walks through where problems usually live, how your system is laid out, what the patterns in the app can suggest, why some fixes require going under the panels, and what to expect from a professional diagnostic visit and repair.
1. Two places a SolarEdge problem can live
With a SolarEdge system, almost every production or reporting problem traces back to one of two places. The first is the inverter, which is the box mounted on a wall that converts the direct current from the panels into usable power for your home. The second is the optimizer level under the panels, where each panel’s power and reporting are controlled. When your app shows something unusual, the work of a technician is to determine whether the issue is at the inverter, at one or more optimizers, or in the wiring that connects them together and to your home’s electrical system. From there, the specific repair plan can be built around what they find on site.
Thinking in terms of these two locations helps make sense of what you are seeing. If everything in the app is flat at zero, it suggests looking at the inverter and the main electrical connections first. If only certain panels are low or not reporting, that suggests attention under those panels or in the group of wiring that serves them. The patterns themselves do not replace a proper diagnosis, but they give a starting point that guides where to look and what to test, instead of chasing random possibilities around the house and roof.
📌 Key Takeaway: A SolarEdge problem usually lives either at the inverter on the wall or at an optimizer under a panel. Where it is decides what the fix involves.
2. How a SolarEdge system is laid out
It helps to picture how the pieces of your SolarEdge system are arranged, even if you never plan to touch them yourself. On the roof, each solar panel normally has a small device mounted under or very near it called an optimizer. That optimizer is responsible for managing that panel’s output and for reporting how that panel is performing back to the SolarEdge app. The panel and its optimizer work together as a pair, so when the app shows a problem with a single panel, the optimizer at that location is one of the first things a technician will think about during diagnosis.
Those optimizers are wired together in groups, often called strings, that run across sections of the array. Each group carries the combined power from its panels down to the inverter. The inverter is usually mounted on an exterior wall or in a garage, close to your main electrical panel or meter. Its job is to take the power coming from the roof and convert it into power that your home can use and that can be sent back through your meter when you have extra production. The wiring between the optimizers and the inverter is part of the system that a technician inspects when tracking down problems that affect more than one panel at a time.
The SolarEdge app ties this all together by showing performance panel by panel. The layout in the app usually mirrors the layout of your roof array, so you can see at a glance which panels are producing normally and which ones are low or not reporting. Behind that view, the system is taking readings from each optimizer and from the inverter, then presenting them in a way that is easier for a homeowner to understand. You do not need to know every detail of the wiring to benefit from this, but understanding that the app is showing real information from specific hardware on your roof and wall makes its patterns more meaningful when something looks wrong.
SolarEdge system acting up? Fused Solar and Roofing diagnoses and repairs SolarEdge inverters and optimizers across Hillsborough, Pinellas, Pasco, and Manatee counties. Request a diagnostic visit at https://fusedsolarandroofing.com/fused-solar-roofing-service-department
3. What the app pattern can tell you
When you open the SolarEdge app and look at the panel layout, the pattern you see is often the first clue about where a problem may live. If you notice one panel that is low or at zero while the surrounding panels are producing normally, that can point toward something at that specific panel. Possibilities include the optimizer for that panel, the connection between the panel and optimizer, or the connection between that optimizer and the rest of the group. The app cannot tell you which of those it is, but it can highlight that the issue is likely local to that spot rather than affecting the whole system.
If you see a whole group of panels that are low together while other panels on the array look normal, that suggests the problem may be in the wiring or connections that serve that group. In that case, a technician will look closely at how that group of optimizers is wired, how it ties into the inverter, and whether there is a break, loose connection, or other issue affecting that part of the system. Again, the app is not giving a final answer, but it is pointing to a section of the array rather than a single panel or the entire system at once, which helps narrow down the search during a site visit.
If the whole system is at zero in the app, the focus shifts more toward the inverter and the main electrical path. That pattern can line up with an inverter that is not operating, a breaker that is off, or a main disconnect that is open. Sorting out which one is involved is part of what a trained technician does on site, by inspecting the inverter, the breakers, the disconnect, and the reachable wiring. The important point is that zero across the board usually means the issue is at or near the main conversion and connection point, not isolated under one or two panels on the roof.
There is also a separate pattern where the SolarEdge app shows the system as not communicating. In that case, the app may not be able to display current production data, but the system may still be producing power. The underlying issue can be in the monitoring connection rather than in the power path itself. A technician will consider both sides during diagnosis, checking whether the inverter is operating and whether the monitoring connection is working as it should. The goal is to confirm not just what the app is saying, but what the hardware on the wall and roof is actually doing at that moment.
💡 Pro Tip: Screenshot the panel layout in the SolarEdge app showing which panels are low or not reporting, and photograph the inverter display. Together they point a technician to the right place.
4. What to note before calling
Before you call for service, there are a few simple things you can safely gather that make the diagnostic process more efficient. In the SolarEdge app, open the panel layout view and take clear screenshots that show which panels are producing normally and which ones are low or at zero. If the app has a way to show the same layout over different days, capturing more than one day can help a technician see whether the pattern is consistent or if it changes with time or weather. These screenshots become a visual record of what you are seeing from your side of the system.
At the inverter, you can safely stand in front of it and take a photograph of the display. You do not need to interpret any messages or symbols; a clear photo is enough. When you reach out to a service company, being able to share both the app screenshots and the inverter photos gives them a head start in understanding the situation. Along with the images, note whether the pattern you are seeing involves a single panel, several panels, a whole group, or the entire system. Also note the date you first noticed the issue and what the weather was like at that time, because strong sun versus heavy clouds can affect how production graphs look in the app.
There are also clear boundaries on what you should not do. Do not go on the roof or try to lift or move any panel. Do not open the inverter, the disconnect, or your electrical panel. Do not switch anything off and on in an attempt to reset the system. The equipment can carry voltage whenever the panels are in sunlight, and opening or changing things without the right training and license is not safe. Your role is to observe, document with photos and screenshots, and then let a qualified technician handle the hands-on work and testing during a scheduled visit.
⚠️ Warning: Do not go on the roof, lift a panel, or open the inverter or disconnect. Panels and optimizers can carry voltage whenever the panels are in sunlight.
5. Why some fixes are under the panels
Once a technician has looked at your app data and inspected the accessible equipment, the next question is where the repair work actually has to happen. If the problem is at the inverter, the work is at the wall. A repair or replacement there usually involves shutting the system down, working at the inverter location, and then bringing the system back online. In this scenario, there is no need to remove panels from the roof, because the affected equipment is already exposed and reachable from the ground or a ladder at the wall location. The focus is on restoring proper operation at that central conversion point and confirming that the array responds normally once power is restored.
When the issue is tied to an optimizer, the situation is different. An optimizer is mounted under its panel, so replacing one means removing the panel above it. Even when only a single panel needs to come off, that is treated as a detach and reinstall. The system is shut down in a controlled way, the wiring is safely disconnected, and the panel is removed from its mounting so the optimizer and its connections can be reached. At that point, the optimizer or the affected connection is replaced or repaired, and the panel is reinstalled, reconnected, and secured back in place on the racking before power is restored to that part of the system.
After the physical work under the panel is complete, the new optimizer must also be set up so that it reports correctly in the SolarEdge app. This is part of closing the loop on the repair. The technician will confirm that the replacement optimizer is recognized by the system, that it is associated with the correct location in the panel layout, and that its production looks appropriate compared with the surrounding panels. That way, when you open your app later, you see a clear, accurate picture of the array, instead of a mix of old and new information that could cause confusion down the line.
All of this work under the panels and at the inverter is licensed electrical work. It involves live power sources, permanent wiring, and equipment that ties directly into your home’s electrical system. Fused Solar and Roofing services SolarEdge systems, including systems whose original installer is no longer in business. Fused Solar and Roofing is a licensed roofing (CCC1331058), electrical (EC13014750), and building contractor (CBC1252064) — all three in-house. Having both the electrical and roofing side under one roof is especially important when a fix requires taking panels off and putting them back on correctly, because it affects both how your system performs and how your roof is protected over time.
6. What a diagnostic visit involves
When you schedule a diagnostic visit, you can expect a structured process rather than guesswork. A licensed technician will start by reviewing the SolarEdge app data with you, either from your screenshots or directly from the app on your phone or tablet. This includes looking at the panel layout, any history you have noticed, and any messages the app is showing about communication or production. The goal of this first step is to make sure the technician understands exactly what you have been seeing at home and when it started, so the on-site inspection can be focused and efficient.
Next, the technician inspects the inverter, the breakers that serve the system, the disconnect, and the wiring and connections that can be reached without removing panels. This includes checking how the inverter is behaving, how the system is tied into your electrical panel, and whether there are any visible issues at the wall or along the accessible wiring runs. By combining what the app is saying with what the equipment is doing on site, the technician can identify whether the problem is centered at the inverter, in a group of panels, or at specific panels that may require rooftop work and panel removal to reach their optimizers or connections.
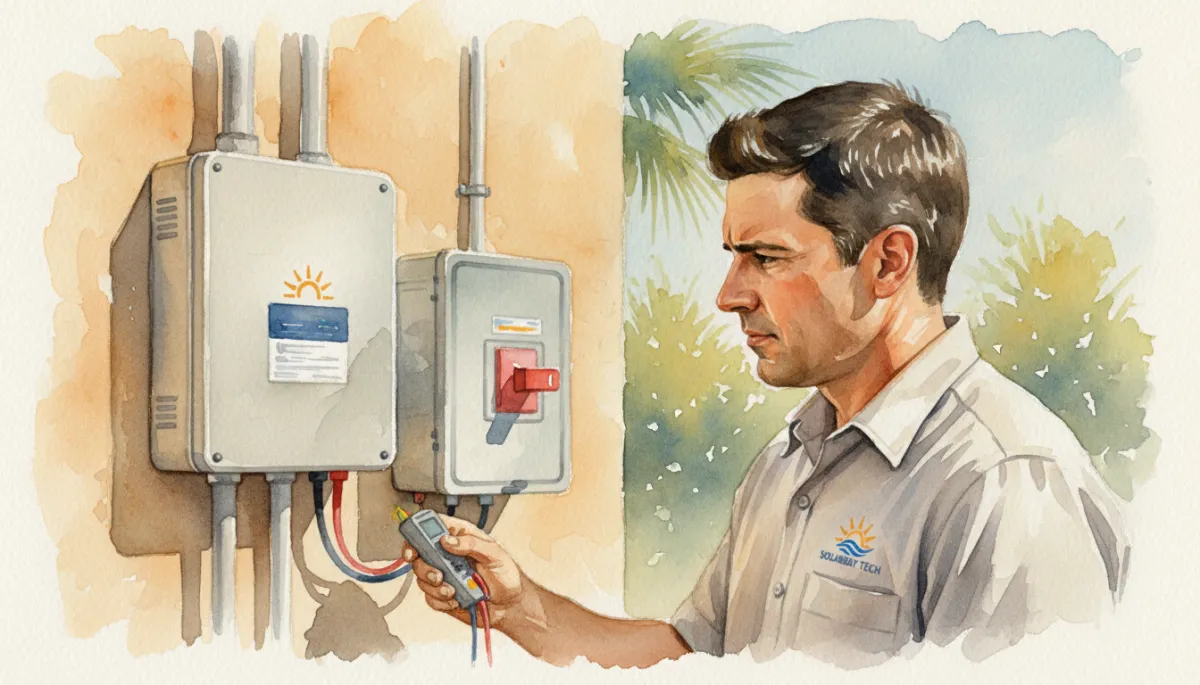
A structured diagnostic visit pinpoints whether issues start at the wall or under the array.
As part of the visit, you receive photographs and a detailed written report. The photos document what was found at the inverter, at the accessible wiring, and, if rooftop work is performed, at the affected panels and optimizers. The written report explains the findings in plain language and outlines the recommended repairs or replacements. Any work that needs to be done is scoped and quoted from those findings, so you know what is involved before moving forward. Fused Solar and Roofing is an EnergySage Elite Installer with a 5.0/5 rating and 21+ verified reviews — independent verification, earned not purchased. Fused Solar and Roofing is certified with SolarEdge.
📌 Key Takeaway: Fused Solar and Roofing diagnoses and repairs SolarEdge inverters and optimizers under electrical license EC13014750, including on systems whose original installer is no longer in business.
7. The roof under the array
When a repair requires taking panels off to reach optimizers, it naturally exposes the roof underneath. This is especially true if several panels across the array are affected and need to come off in one or more areas. Once those panels are removed, the roofing material, flashing, and attachment points under the array are visible in a way they are not during a simple ground-level inspection. That makes a repair visit that includes rooftop work a good opportunity to look calmly and carefully at the condition of the roof under the system, rather than putting the panels back and hoping nothing else needs attention soon.
If the roof under the array is older or has visible wear, it is worth asking whether it should be repaired or replaced while the panels are already off, instead of removing them again later. This is not about pushing you into a roof project you do not need. It is about recognizing that taking panels off and putting them back on is a significant part of the work, and doing that twice for separate roof and solar projects can be more disruptive than addressing both together when it makes sense. A straightforward conversation with the technician about what they see under the array can help you decide whether it is better to handle roof and solar work in one coordinated job or keep them separate.
When replacement does make sense, the process is clear. The full array comes off in an organized way, with panels labeled and stored so they can be reinstalled correctly. The roof is repaired or replaced as needed, including the areas under and around the array. Once the roofing work is complete, the panels and optimizers are reinstalled, reconnected, and tested. Because the system is being rebuilt on a refreshed roof surface, the attachments, flashing, and wiring can be set up for the long term in one coordinated step. Fused Solar and Roofing’s own in-house electrical and roofing crews handle both sides, so it is managed as one job under one company instead of two separate contractors trying to coordinate around each other’s schedules and scopes of work.
8. After the repair
Once the repair or replacement work is complete, the focus shifts to confirming that everything is operating the way it should. The technician will bring the system back online in a controlled sequence and then confirm that every panel is producing and reporting correctly in the SolarEdge app. This includes checking that the repaired or replaced components are behaving as expected and that they appear in the correct location in the panel layout. On the hardware side, the inverter is checked to make sure it shows normal operation, with no unexpected messages or behavior that would point to a lingering issue.
Before leaving, the technician should walk you through the basics of reading the panel layout in the SolarEdge app, using your actual system as the example. This is a calm, practical review of what normal looks like on a sunny day, what it looks like when clouds move through, and how a problem panel or group would show up if something ever goes wrong in the future. The goal is not to turn you into a technician, but to give you the confidence to spot an unusual pattern early and to know what kind of information is helpful to share if you ever need another service visit. With that understanding in place, your SolarEdge system becomes easier to live with and monitor over time, even if the original installer is no longer around.
Frequently Asked Questions
1. Why does my SolarEdge app show one panel producing less than the others?
When one panel shows lower production than the others, it usually means something is happening at that specific location rather than with the entire system. The possibilities include the optimizer under that panel, the connection between the panel and optimizer, or the wiring that links that optimizer into the rest of the group. In some cases, conditions at that spot on the roof can also affect output. A diagnostic visit looks at the app pattern and the on-site equipment together to determine whether a repair under that panel is needed and, if so, what it involves.
2. What does it mean if my SolarEdge system shows zero production?
If your SolarEdge app shows zero production across the whole system during daylight hours, the first place a technician will look is the inverter and the main electrical path. Zero production can line up with an inverter that is not operating, a breaker that is off, or a disconnect that is open. The exact cause is not something you should try to track down yourself, because it involves opening equipment and working around live power. A licensed technician will inspect the inverter, the breakers, the disconnect, and the reachable wiring, then confirm what is stopping production and what repair or adjustment is needed to restore normal operation.
3. Does replacing a SolarEdge optimizer mean taking the panel off the roof?
Yes. A SolarEdge optimizer is mounted under its panel, so replacing one requires removing the panel above it. Even if only one optimizer is involved, the process is treated as a detach and reinstall for that panel. The system is shut down, the panel is safely removed, the optimizer or its connections are replaced or repaired, and then the panel is reinstalled and reconnected. Afterward, the new optimizer is set up so it reports correctly in the SolarEdge app. Because this work involves electrical and roofing steps, it should be handled by a company that is licensed for both and familiar with SolarEdge systems.
4. My SolarEdge app says the system is not communicating. Is it still producing?
A “not communicating” message in the SolarEdge app usually means the monitoring connection is having trouble, not that production has definitely stopped. In some cases, the system can still be producing power even though the app is not receiving current data. A technician will check both sides during a diagnostic visit, confirming whether the inverter is operating and whether the monitoring connection is functioning correctly. The goal is to verify what the hardware is actually doing, restore accurate reporting in the app, and make sure you are not relying on incomplete information about your system’s performance.
5. Can a different company service my SolarEdge system?
Yes. Your SolarEdge system can be serviced by a qualified, licensed contractor that works with SolarEdge equipment, even if they were not the original installer. The key is choosing a company that understands how SolarEdge inverters, optimizers, and the monitoring app fit together and that holds the appropriate electrical and, when needed, roofing licenses. That way, they can safely diagnose issues at the inverter, under the panels, and along the wiring, and can handle detach and reinstall work without putting your roof or system at risk.
6. My original solar installer is out of business. Who can repair my SolarEdge system?
If your original installer is no longer in business, you are not stuck. A licensed contractor that services SolarEdge systems can step in to diagnose and repair your system. They will review your SolarEdge app data, inspect the inverter, check the reachable wiring and disconnects, and, if needed, perform rooftop work to access optimizers and connections under the panels. Fused Solar and Roofing services SolarEdge systems across the Tampa Bay area, including systems whose original installer is out of business, and can coordinate both the electrical and roofing sides of any detach and reinstall work that may be needed.
Fused Solar and Roofing is a licensed electrical contractor (EC13014750) servicing solar systems of all brands across Hillsborough, Pinellas, Pasco, and Manatee counties, including systems whose original installer is no longer in business. Request a diagnostic visit at https://fusedsolarandroofing.com/fused-solar-roofing-service-department
Is your solar system producing what it should? Request a diagnostic visit at https://fusedsolarandroofing.com/fused-solar-roofing-service-department